How to Apply Press-On Nails
MY NAIL GIFT / NAIL GUIDES
Choose the method that matches your adhesive. These illustrated steps cover adhesive tabs and nail glue, with a link to the corresponding removal instructions.
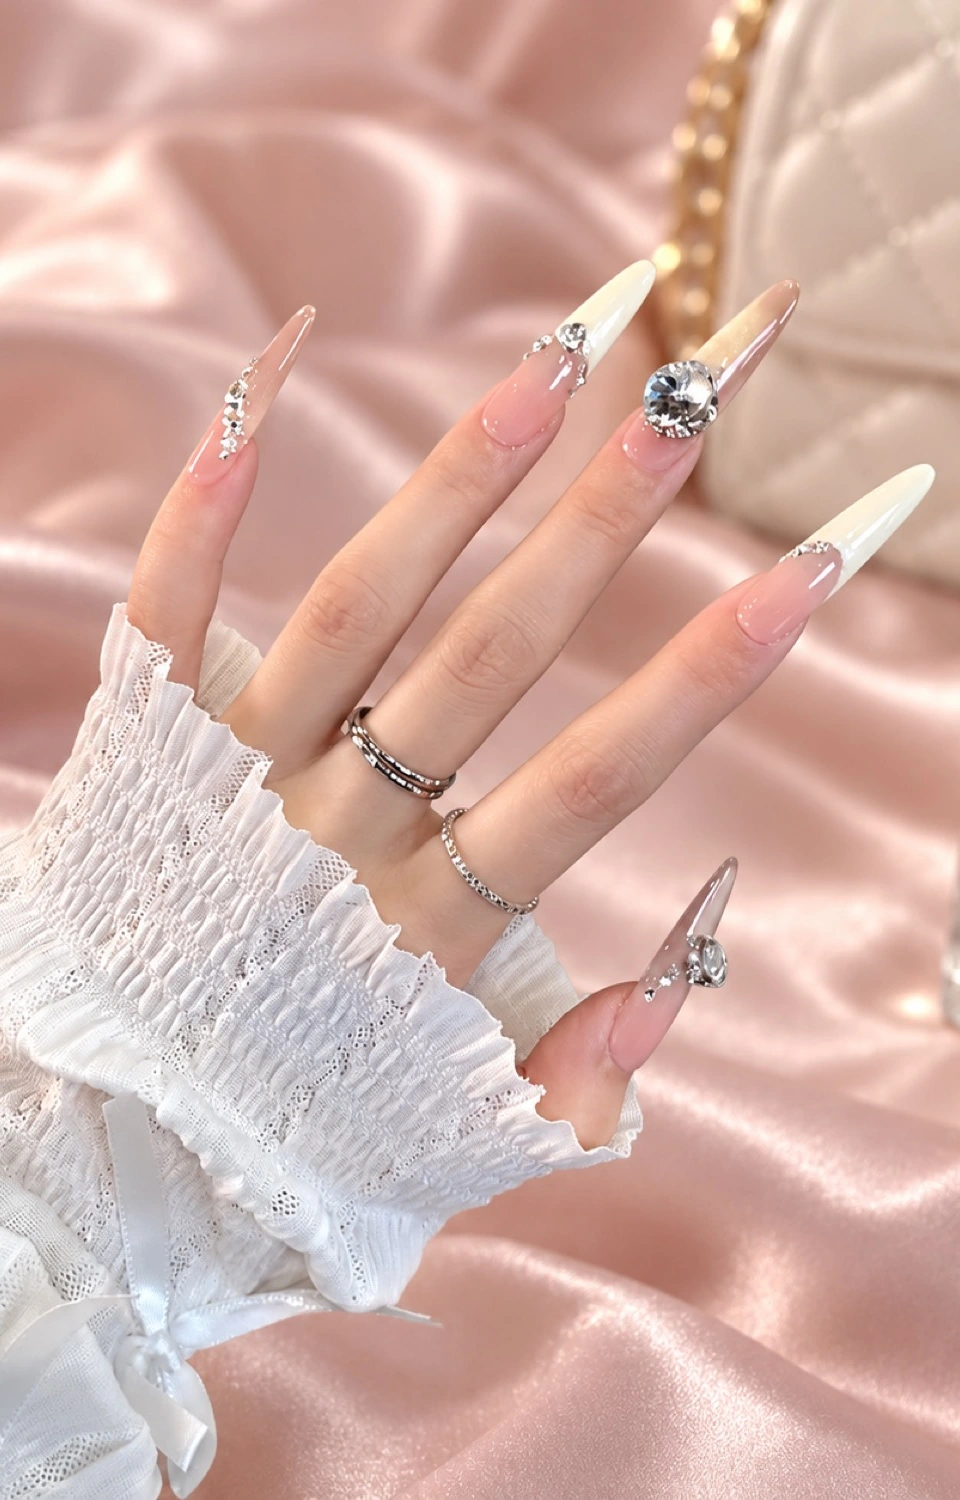
Your illustrated guide
Follow the method for the adhesive you are using. Adhesive tabs and nail glue have different application routines; check your set and adhesive instructions before you begin. Accessories shown in the guides are illustrations, not a promise that every set includes glue.
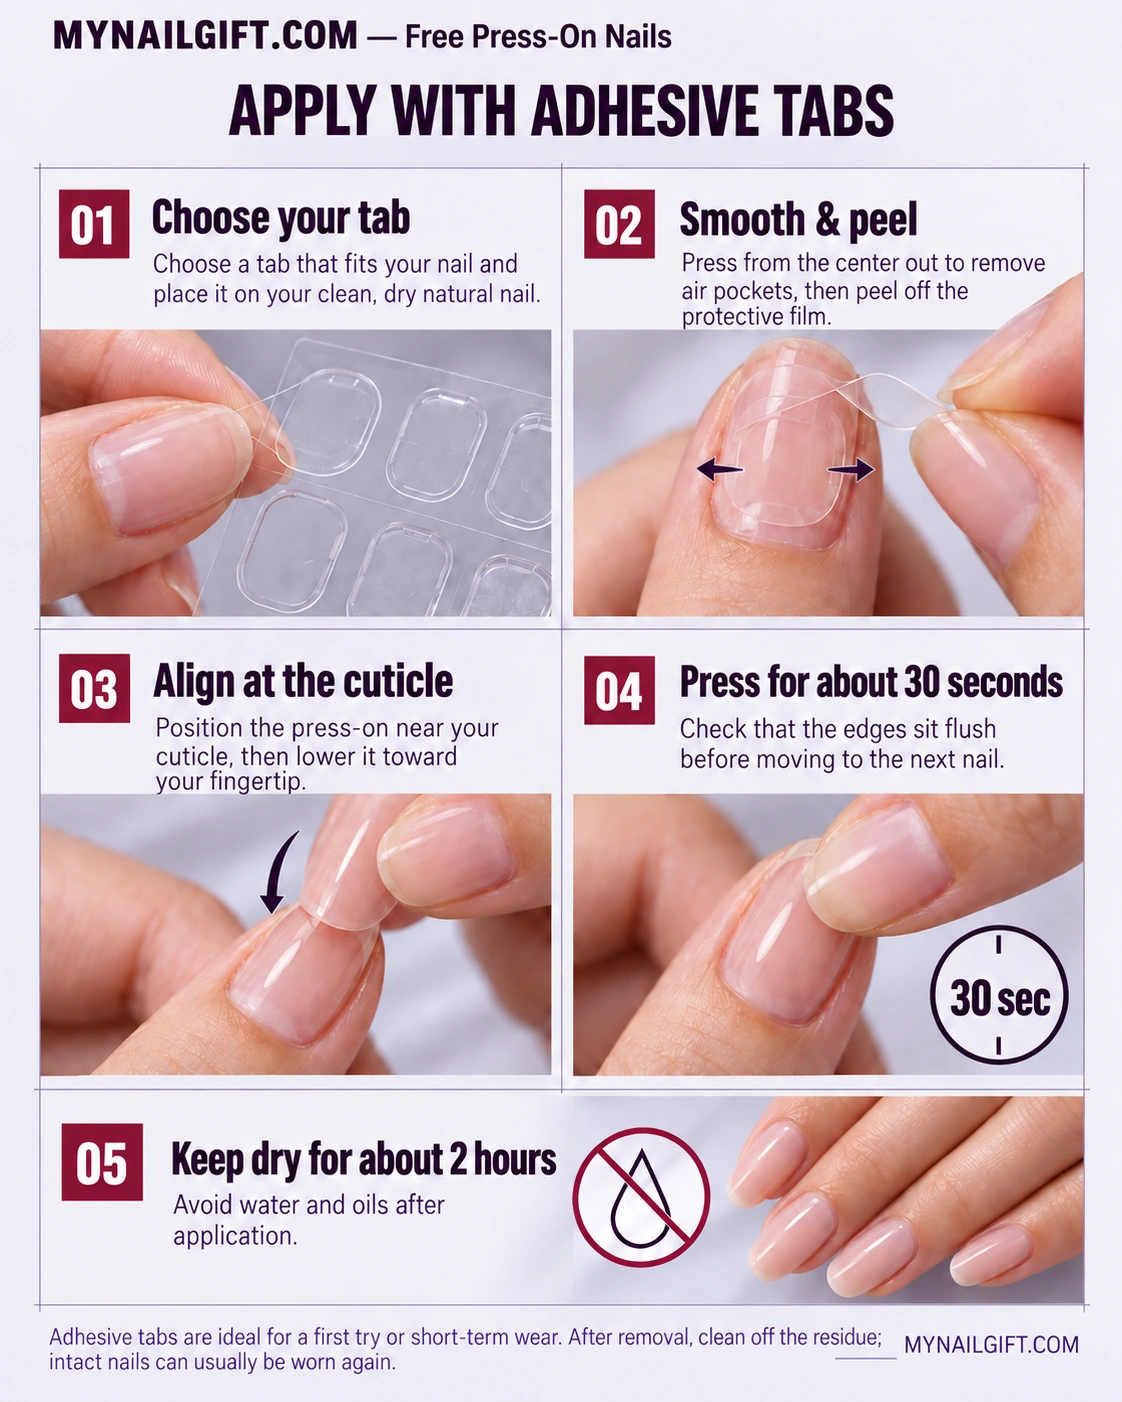
Apply with adhesive tabs
- Choose your tab. Select a tab that fits your nail and place it on the clean, dry natural nail.
- Smooth and peel. Press from the centre out to remove air pockets, then peel off the protective film.
- Align at the cuticle. Position the press-on near the cuticle and lower it toward your fingertip.
- Press for about 30 seconds. Check that the edges sit flush before moving to the next nail.
- Keep dry for about two hours. Avoid water and oils after application.
Tabs suit a first try or shorter wear. After gentle removal and residue cleaning, intact nails can usually be worn again.
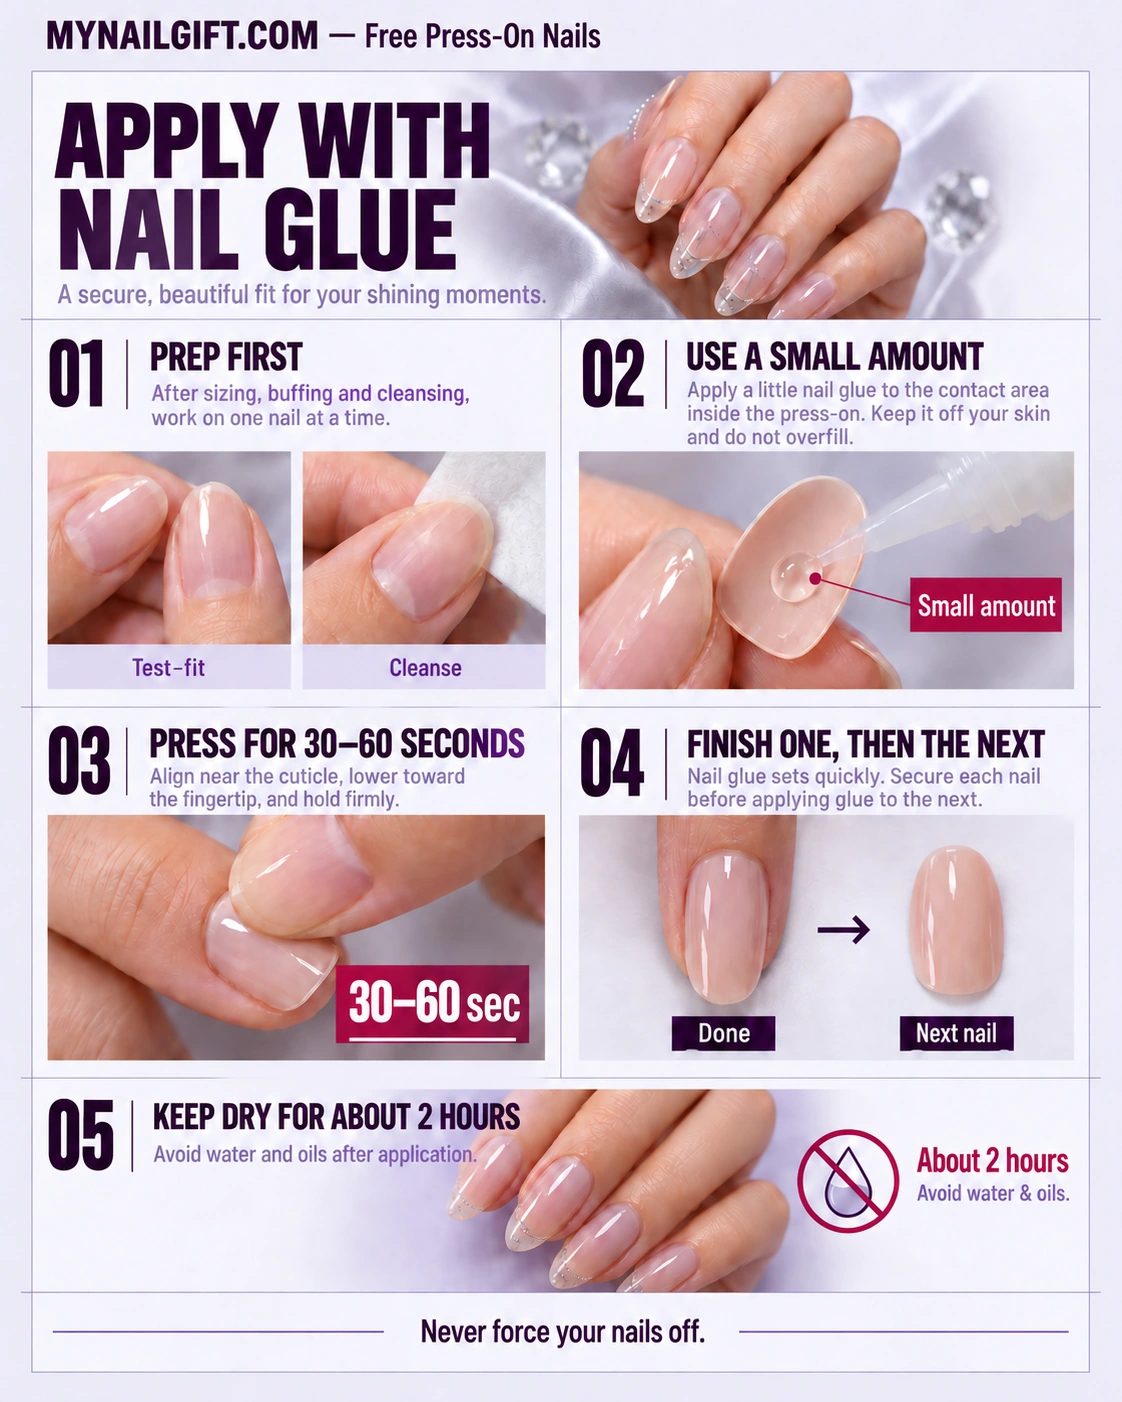
Apply with nail glue
- Prepare first. After sizing, buffing and cleansing as directed by your set, work on one nail at a time.
- Use a small amount. Apply a little nail glue to the contact area inside the press-on. Keep it off your skin and do not overfill.
- Align and press. Position near the cuticle, lower toward the fingertip and hold firmly for 30–60 seconds.
- Finish one nail, then the next. Secure each nail before applying glue to another.
- Keep dry for about two hours. Avoid water and oils after application.
Ready to remove your press-on nails?
Use the method that matches your adhesive. Read the complete safe-removal guide. Never force a nail off.